

Under-Cabinet Lighting: A Kitchen Planning Guide
Plan kitchen under-cabinet lighting around the benchtop, finishes and everyday use. Compare placement, light output, white colour, fittings and controls as one system.
VOXAURA
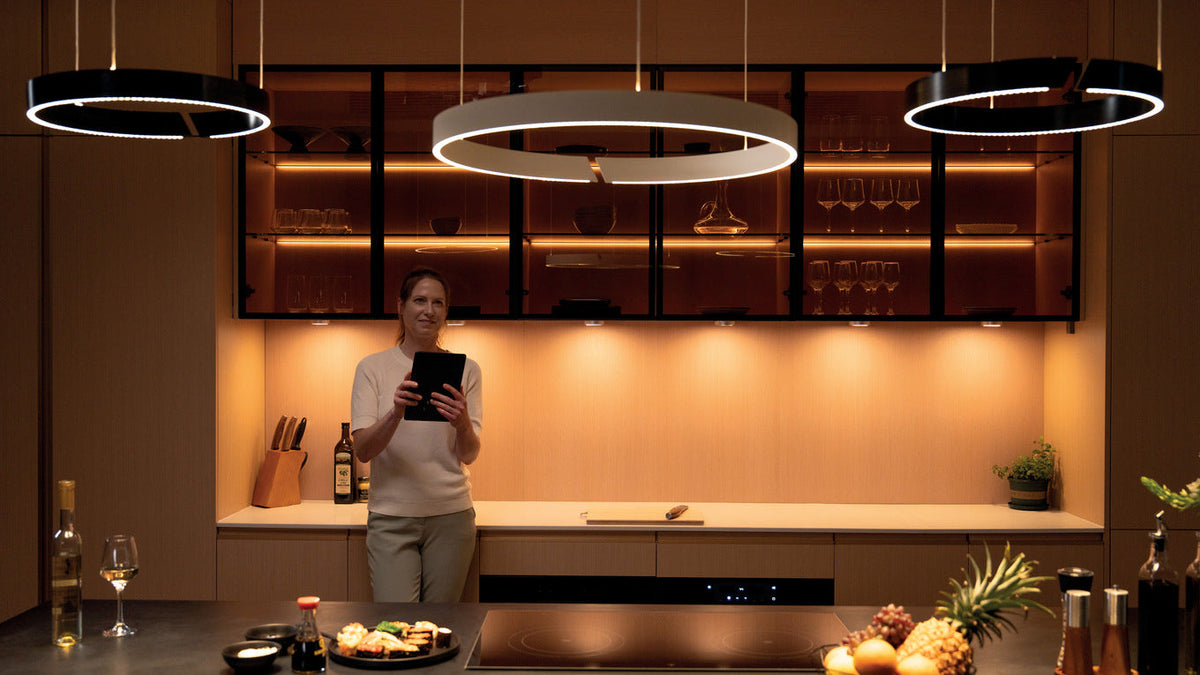
Good under-cabinet lighting puts light on the benchtop where you prepare food, while keeping bright LEDs out of your normal line of sight. Start with the cabinet layout and the surface you need to illuminate. Then choose the light output, colour temperature, fitting and controls together.
For a kitchen renovation or new cabinetry, planning these details early also gives you space for the driver, cables and connections. Here is how to work through the main choices.
Start with the benchtop and the way you use it
A kitchen can have plenty of ceiling light and still feel dark at the chopping board. When a ceiling light sits behind you, your body can cast a shadow onto the work surface. A light beneath the wall cabinet brings illumination closer to that surface.
Think about kitchen lighting in layers. Ceiling lights provide general illumination, under-cabinet lights support preparation and cleaning, and shelf or plinth lighting can add atmosphere. Each layer has a different job. A softly illuminated splashback may look inviting while leaving the front of the benchtop poorly lit.
Mark the areas where you actually work, including corners and breaks between cabinets. Check the distance from the underside of the cabinet to the bench, the cabinet lip and the surface finish before selecting a fitting.

Where should under-cabinet lights be placed?
Position the fitting so its light reaches the preparation area and the cabinet edge conceals the bright source from normal viewing positions. A position towards the front of the cabinet is worth testing for task lighting, but cabinet depth, beam direction and shielding determine the final location.
Check the result from both standing and seated positions. In an open-plan kitchen, a light hidden from the person cooking may still be visible from the dining table.
Polished stone and glossy splashbacks need particular attention. They can reflect individual LEDs or a bright line into your eyes. Test a short section with the intended profile and diffuser against the actual material before committing to a full run. Adjusting the position or shielding may improve comfort more effectively than adding power.
How bright should kitchen cabinet lighting be?
Three measurements help you compare options:
- Watts (W) describe electrical power and help you size the supply.
- Lumens (lm) describe how much light the product emits. For strips, check the output per metre.
- Lux (lx) describes the light reaching the benchtop.
For a food-preparation surface, around 500 lux can be a useful starting point to discuss with your designer. The VoxAura Academy of Light uses 500 lux or more as a kitchen-worktop guideline. Agree on the target for your project, then check the installed result across the preparation area.
A wattage or lumen figure alone cannot establish that result. Mounting distance, beam distribution, diffuser, obstructions and surface reflections all affect the light on the bench. Ask for photometric information relevant to the proposed installation, especially if the project has a specified illuminance target.
Is 3000K or 4000K better for a kitchen?
Colour temperature, measured in kelvins (K), describes the warm or cool appearance of white light. Both 3000K and 4000K can work in a kitchen.
| Option | Appearance | What to consider |
| 3000K | Warm white | Compare with timber, warm finishes and nearby room lighting. |
| 4000K | More neutral white | Compare on the benchtop and splashback at the brightness you need for preparation. |
| Tunable white | Adjustable white appearance | Choose compatible lighting and controls if you want different settings for preparation and evening use. |
Bring samples of your cabinet door, stone and splashback into the comparison. Check the lights alongside the ceiling fittings too. Matching Kelvin labels are a useful starting point, but a sample shows how the products actually look together.
Selected VoxAura Multiwhite products offer an adjustable 2700–5000K range with compatible controls. Fixed-white products retain their selected colour temperature when dimmed. Choose the capability you want before ordering the lights and control components.
Why does CRI matter for kitchen lighting?
Colour rendering affects how food, timber, paint and stone appear under a light. It is separate from the warm or cool appearance described by colour temperature.
CRI is a common measure of colour rendering against a reference light source. For a kitchen where material appearance matters, CRI 90 or above is a useful selection criterion. R9 provides additional information about strong-red rendering, which the usual CRI average does not capture.
VoxAura's Australian catalogue lists Ra93 and R9 above 50 for selected white-light LED strip variants, including specified LS4030 and LS4031 options. Compare the data for the exact product you intend to use. Those strip figures do not establish the rating of every linear light.
A sample on your chosen finishes remains useful alongside the specification. The US Department of Energy's LED guide explains why colour appearance and colour rendering deserve separate consideration.
LED strip and profile, or an integrated linear light?
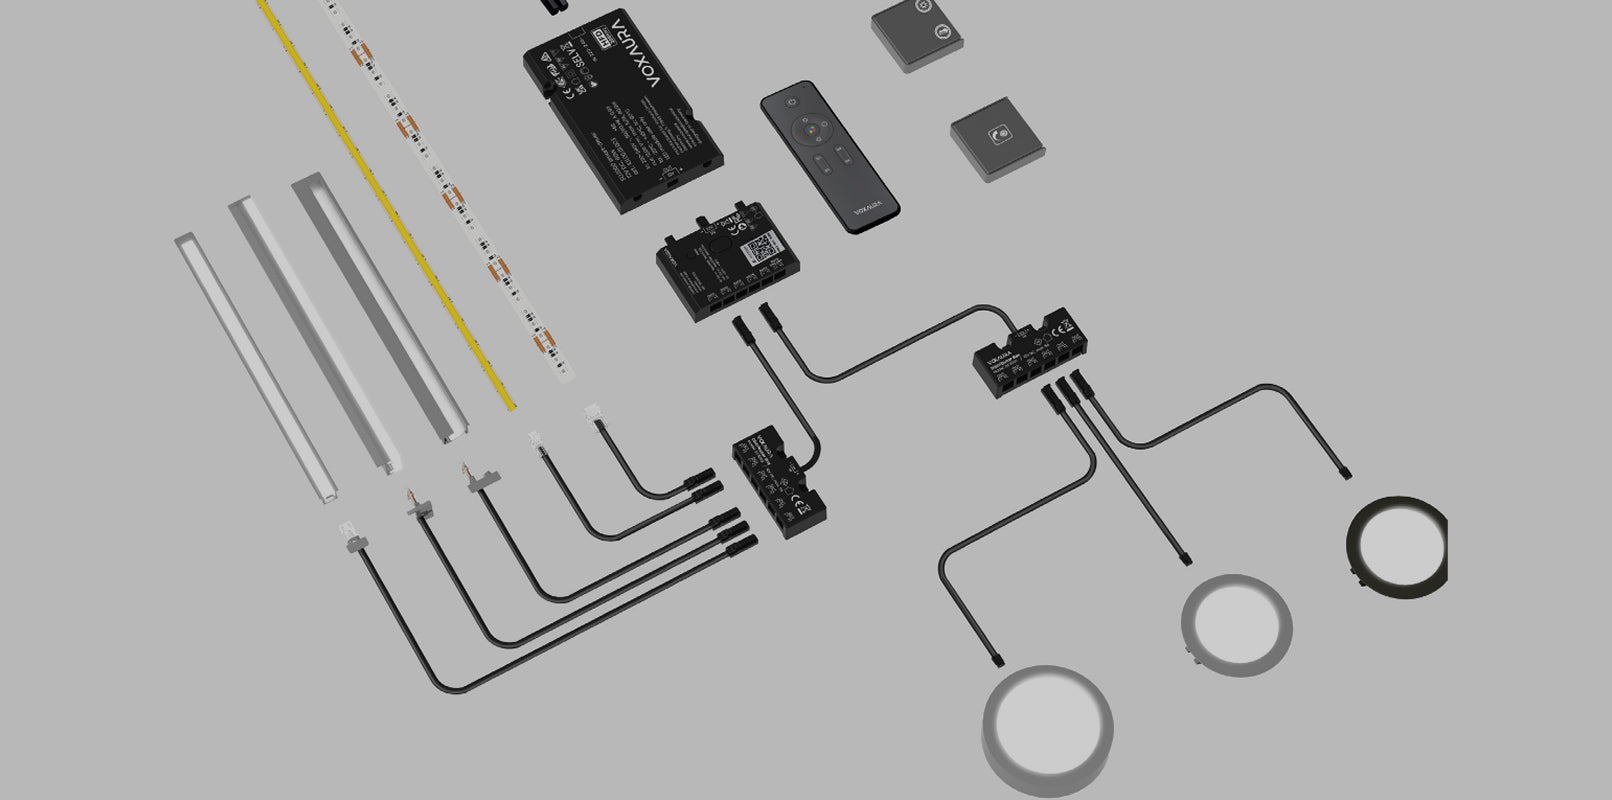
A traditional cabinet lighting system combines an LED strip, aluminium profile and diffuser with the appropriate connectors, end parts and fixings. This gives the installer flexibility to select components for the design.
COB strips can help create a continuous line of light. The finished appearance also depends on the diffuser, the space between the LEDs and cover, and the viewing angle. Check the complete assembly, particularly above reflective surfaces.
An integrated linear light offers another approach. VoxAura FreeCut combines the light source, profile and cover in one product, reducing the separate components assembled on site. It can be a useful option for custom cabinetry where length, finish and installation workflow matter.
Compare the complete materials and installation work for each approach. Check the selected FreeCut model's cutting rules, end-part allowance and mounting drawing when planning the finished length. Any reuse of leftover material depends on the model and the required connection parts.
Choose controls around everyday kitchen use
Start with how you want to operate the lights: touch, a compatible touchless sensor, a remote or a smart-home scene. Then decide which areas should respond together.
For example, you might want the preparation lights on one group and display shelves on another. The driver and control configuration must support those groups. Separate sockets on a component do not necessarily mean separately controllable lights.
If you want brighter task lighting during preparation and a softer setting later, specify a dimmable light and a compatible control path. Adjustable colour temperature also requires a tunable-white product.
VoxAura offers wired and smart control routes. In the smart route, compatible lights connect through the appropriate driver and control unit. Wireless switches carry control commands, while the lights still need power cables. Confirm the controller, home platform and required hub equipment when planning app or voice control.

Plan the complete system before the cabinetry is finished
Record each illuminated length, the mounting detail, cable routes and a suitable driver location. Allow access to the driver and connections for servicing, following the product's installation requirements.
For strip lighting, calculate the load from the installed length and the specified watts per metre, then include every other light sharing that supply. Check output voltage, total capacity, individual connection limits and permitted cable lengths. Select the appropriate product for any location exposed to heat, steam or splashes.
A useful brief for your cabinet maker or lighting supplier includes:
- Cabinet drawings and the benchtop areas you need to light.
- Cabinet, stone and splashback samples.
- The preferred fixed colour temperature or adjustable-white requirement.
- Mounting details, illuminated lengths and cable routes.
- The required dimming, switching and control groups.
Frequently asked questions
Can under-cabinet lighting replace ceiling lights?
Under-cabinet lighting supports work on the benchtop. A kitchen lighting plan also needs suitable illumination for circulation and other activities. Plan those layers together.
Will a diffuser remove all visible LED dots?
The result depends on LED spacing, diffuser design, mixing distance and viewing direction. Test the complete fitting on reflective surfaces.
Can every LED strip be dimmed with a wall dimmer?
Check the complete combination of light, driver and control. A dimmable product needs a compatible dimming method, and the existing wall dimmer may require a different driver arrangement.
Can kitchen cabinet lights be added to smart-home scenes?
Compatible products can participate through the appropriate controller and home-platform setup. Confirm the supported functions and which groups can respond independently.
Planning a kitchen lighting project?
Talk to Knox System about a VoxAura configuration for your cabinetry. Bring your cabinet layout, material samples, illuminated lengths and control preferences so the light, driver, controls and accessories can be selected as a complete system.